Layout of how vision works
THE GOALS:
- First, the robot should see the AprilTags and get that data.
- Then, the robot should generate a trajectory to the closest tag in view when I press a button. Break these down:
- Access AprilTag data from Limelight on robot and visualize it to SmartDashboard and use it in code.
- Generate a trajectory (Woah, that seems hard)
- Follow that trajectory (WOAH, that seems HARD)
- Report when done and do something else like move arm to scoring position.
Limelight Camera Setup
(See here for full Limelight documentation and set-up instructions) I’ll give you a setup run-down:
- Our Limelight cameras first need to be flashed with the drivers and OS, found here, using BalenaEtcher. (more info)
- Upon properly mounting and wiring the Limelight, go to the config panel: http://limelight.local:5801. You might need to install Bonjour (click here) to network with the device properly
- Follow these instructions to configure your Limelight, thus finishing networking setup.
Limelight Camera Trajectory
NetworkTables
First, learn about Network Tables in this article.

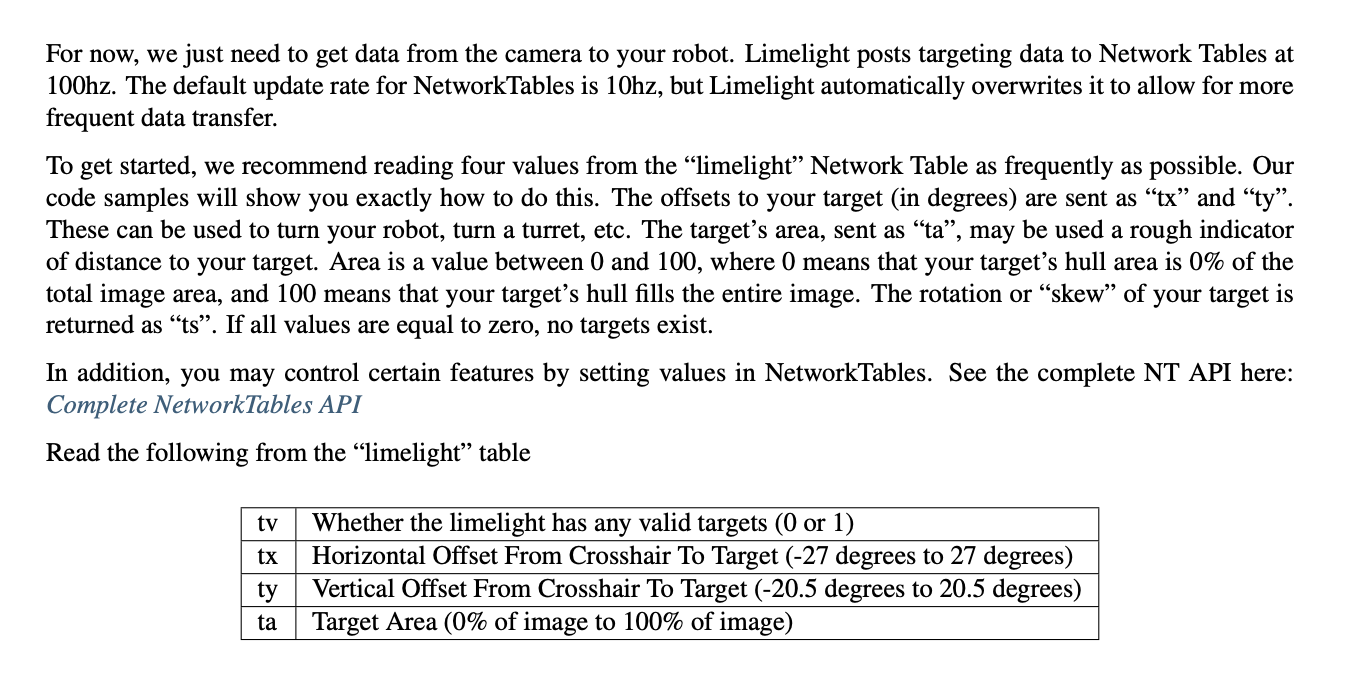
Now that networking is set up, we have our limelight posting it’s values to a NetworkTable. We need to read those values through code. Use either the library LimelightHelpers or the code below:
import edu.wpi.first.wpilibj.smartdashboard.SmartDashboard;
import edu.wpi.first.networktables.NetworkTable;
import edu.wpi.first.networktables.NetworkTableEntry;
import edu.wpi.first.networktables.NetworkTableInstance;
NetworkTable table = NetworkTableInstance.getDefault().getTable("limelight");
NetworkTableEntry tx = table.getEntry("tx");
NetworkTableEntry ty = table.getEntry("ty");
NetworkTableEntry ta = table.getEntry("ta");
//read values periodically
double x = tx.getDouble(0.0);
double y = ty.getDouble(0.0);
double area = ta.getDouble(0.0);
//post to smart dashboard periodically
SmartDashboard.putNumber("LimelightX", x);
SmartDashboard.putNumber("LimelightY", y);
SmartDashboard.putNumber("LimelightArea", area);Making the command
I made a command to align the robot by [[command-based-structure#subclassing-command-fold|subclassing Command]]. This command, of course, has the vision subsystem and the drive subsystem as its dependencies. To create a trajectory to the desired AprilTag pose, I based my code off of the autonomous command code in the provided SwerveControllerCommand project.1 Read this WPI article about creating trajectories to learn more. 2
Creating the trajectory config (docs) is pretty self-explanatory. In “generating trajectory,” don’t get bogged down with the math: just know we must specify a starting Pose2D (docs), interior waypoints (we have none), and an ending Pose2D.
Struggling with my faith
Actually, I’m struggling with figuring out how to define the ending pose.
Footnotes
-
Don’t sleep on looking at this code!! It’s basically a pre-made example for trajectory creation. ↩
-
You may have also noticed this trajectory tutorial article in the WPI docs. That, however, goes through building a DriveTrain, which I already covered, and uses differential drive and
RamseteCommand, not swerve drive. Thus, I wouldn’t read it. ↩